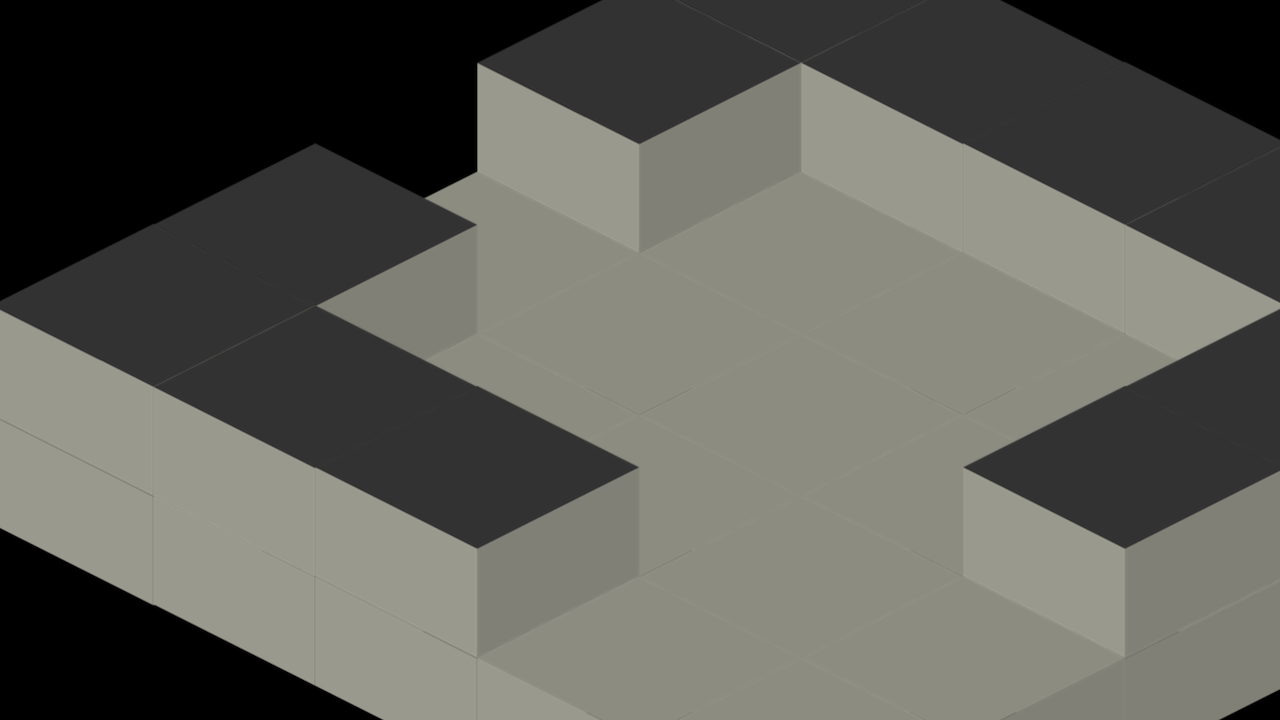
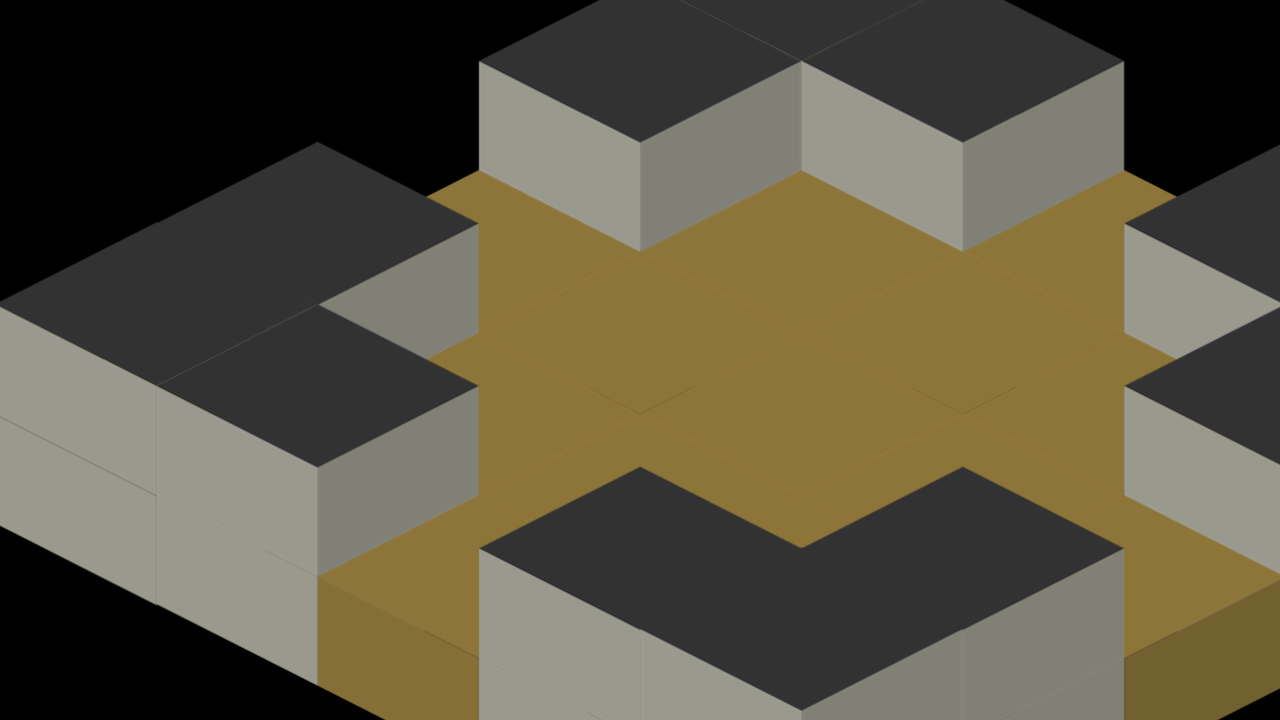
- Very few sprites are required to build a world, and the generated world automatically becomes more visually complex with the greater number of sprites and flags provided.
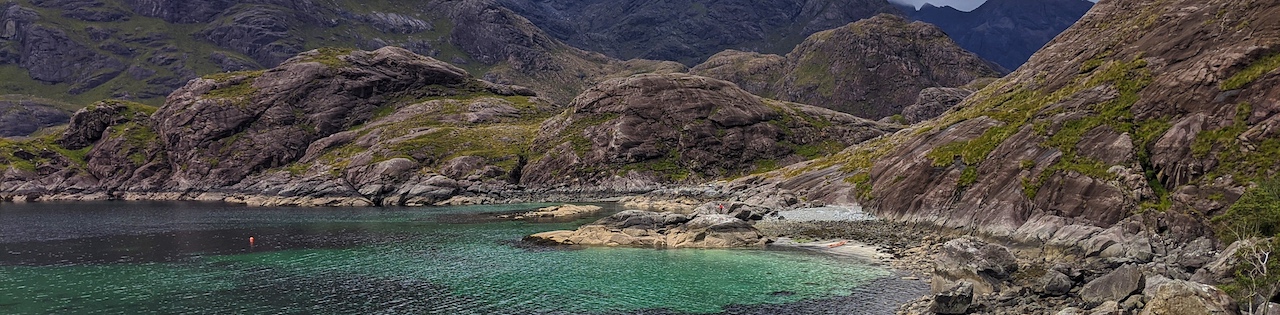
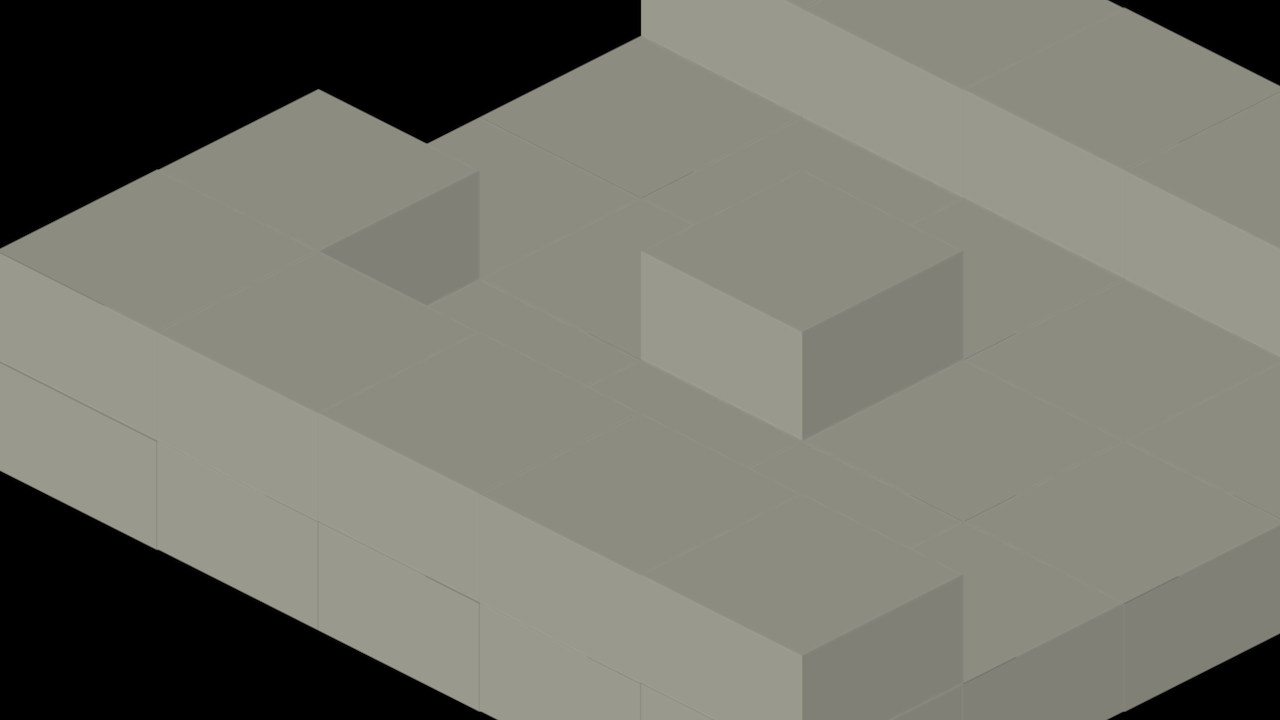
- The world geometry is defined just by a 2D value of numbers, known as a height map.
- Commonly used camera controls are provided by the engine.
- The engine also provides a simple way to add characters and tracks their movements, automatically performing collision detection.
- An event system is employed as an asynchronous way for the user defined elements to perform actions, interacting with the world and each other.
import * as WT from "../../../dist/world-tree.mjs";
const worldDescriptor = {
canvasName: "demoCanvas",
projection: "TwoByOneIsometric",
numTerraces: 1,
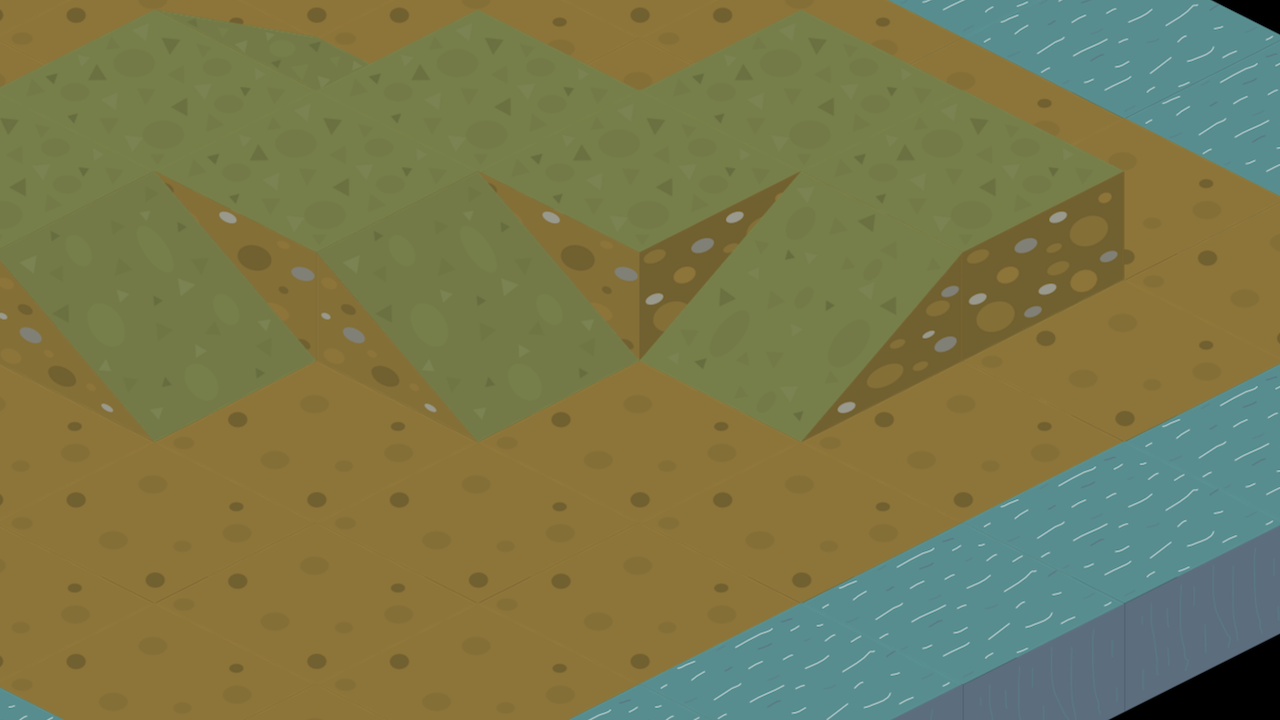
heightMap: [ [ 1, 1, 0, 1, 1 ],
[ 1, 0, 0, 0, 1 ],
[ 1, 0, 0, 0, 1 ],
[ 0, 0, 0, 0, 1 ],
[ 0, 0, 1, 1, 1 ],
],
floor: WT.TerrainType.Inside,
wall: WT.TerrainType.Inside,
terrainSpriteDescriptor: {
spriteSheetName: "graphics/png/basic-dungeon",
spriteWidth: 322,
spriteHeight: 270,
tileRowTypes: [
WT.TerrainType.Inside,
],
tileColumnShapes: [
WT.TerrainShape.Flat,
WT.TerrainShape.Wall,
],
},
};
window.onload = async (event) => {
  const context = await WT.createWorld(worldDescriptor);
  const canvas = document.getElementById("demoCanvas");
  const camera = new WT.MouseCamera(
    context.scene,
    canvas,
    canvas.width,
    canvas.height,
  );

  const update = function() {
    if (document.hasFocus()) {
      context.update(camera);
    }
    window.requestAnimationFrame(update);
  };
  window.requestAnimationFrame(update);
};